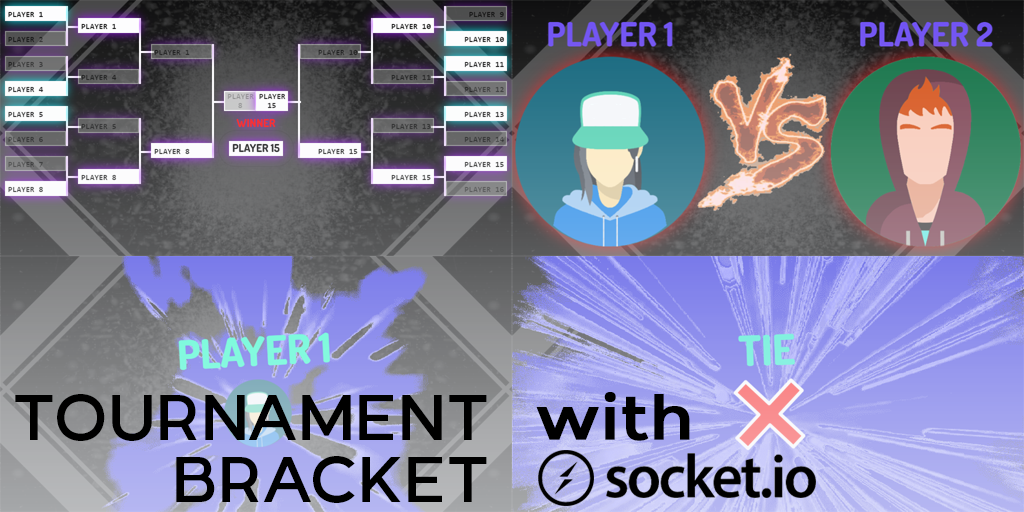
Tournament Bracket with Socket
Introduction
During many events, both sporting and not, it is necessary to have a scoreboard in order to manage the progress of a match.
We noticed that there is neither a solution nor a demo that illustrates on video a dynamic tournament bracket which has different states in addition to the simple list of players.
To fill this gap we created a series of programs using the simplicity of Socket as a communication tool. To create tournament bracket we used:
The manager and socket comunication
We wrote the backend manager used for the entire board control using Visual Basic using Visual Studio 2017 as IDE.
The scope was to show the way the bracket looks on the frontend with the current status of the board. Another goal was to send, via Socket, the message about the “bracket” status (the list of players and their progress through the tournament), the “fight” status (1 vs 1) and the “winner”/”draw” status.
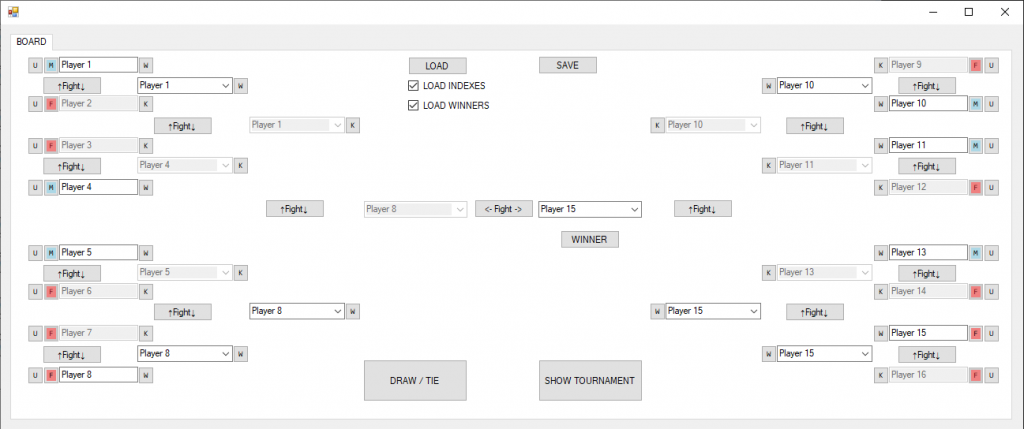
As showed in the screenshot above the interface is adherent with the one displayed on the frontend. By its extremities are the players and nearer the center we see the winners or the players who wins/lost.
The button of the single player is formed by different elements: the name of the player, the gender of the player, a bottom to force the update of the player (it updates by Socket the underlaying data structure, such as name and gender) and the last button “W” is used for sending through Socket a “winner” status for a specific player.
In the program there are also the “Fight”, “Draw” and “Show Tournament” buttons, which we use to forward, in order, the state of fight against 2 players, the status of draw and with the “show tournament” status we can see the updated Tournament Bracket via simple Socket messages.
There are 2 more buttons in addition to these: “save” button, which saves the current board configuration to a JSON formatted and the “load” button which loads the board configuration from a previous saved file.
Socket comunication with the Manager
Every click on “Fight”, “Show Tournament”, “Winner”, “Draw” generate a JSON object with the definitions used by the frontend.
Below an example of the generated strings
{
  "page": "tournament",
  "fighters":[
    {
      "p": "Player 1",
      "s": "f",
      "isKO": false
    },
    ...
    {
      "p": "Player 16",
      "s": "f",
      "isKO": true
    }
  ]
}{
"page": "fight",
"stage": "8th Final",
"p1": "Player 1",
"p2": "Player 2",
"s1": "f",
"s2": "m"
}{
"page": "winner",
"name": "p5",
"s": "f"
}{
"page": "winner",
"haveDraw": true
}For the connection against a Socket server we used Quobject.SocketIoClientDotNet.Client library.
To install the library properly we used the NuGet package manager, already included into Visual Studio by clicking on Tools > NuGet Package Manager > Package Manager Console and installing the package by executing this command
Install-Package SocketIoClientDotNet
Here’s an extract of the code used for establishing the Socket connection
Dim CHANNEL As String = "chat message"
Dim CONNECTION As String = "connection"

Dim MySocket As Socket
MySocket = IO.Socket("http://localhost:8080")
MySocket.Connect()
MySocket.Emit(CHANNEL, json_string)
A message on screen shows a preview of the message and asks to send it to the Node application.
Node communication application with socket
We developed this program because we need a program that acts as a Socket server for all the incoming connections.
All clients connected to this software will receive a message when a client sends a string into this software, brodcasting the message to others.
We developed this program using Node v.10 and the only libraries needed are:
Below you can find the full code:
var app = require('express')();
var http = require('http').Server(app);
var io = require('socket.io')(http);
var port = process.env.PORT || 8080;

io.on('connection', function(socket){
  socket.on('chat message', function(msg){
    io.emit('chat message', msg);
  });
});

http.listen(port, function(){
  console.log('listening on *:' + port);
});
With this program we can open a Socket server on a custom port (in our case it’s 8080) making it available for all the incoming connections.
The frontend with socket integration
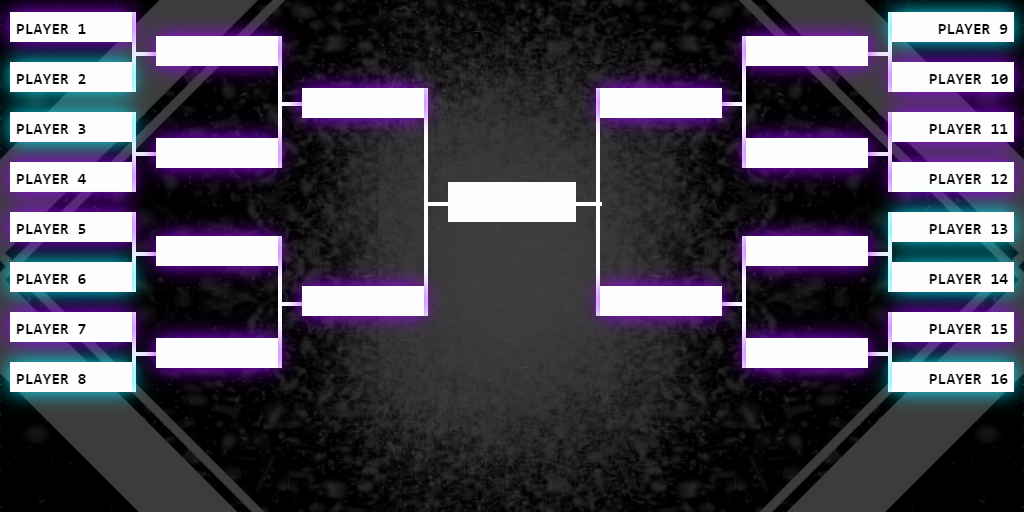
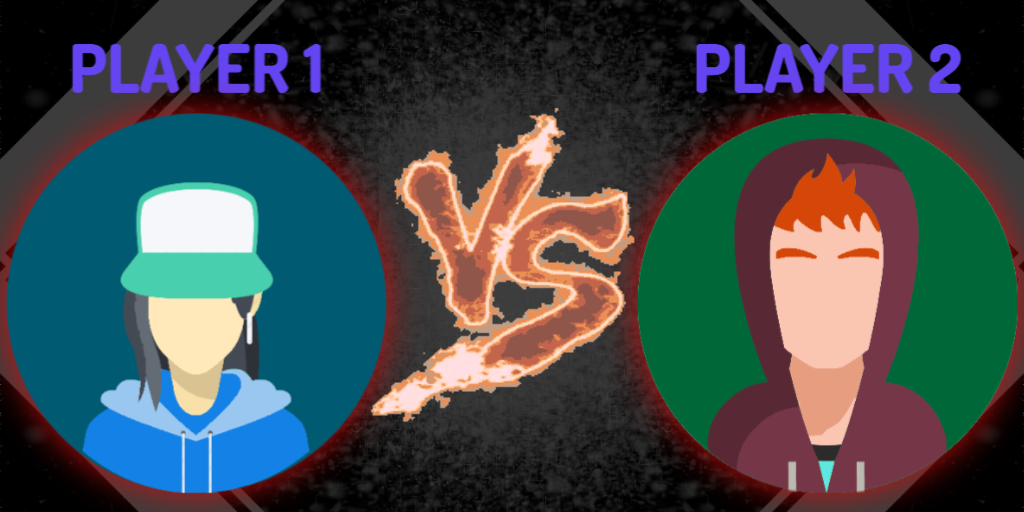
We developed the frontend with Angular 7 and it has essentially 4 different views:
Tournament > Match > Victory or Draw

The most important thing about the frontend application is about the way we used Socket in order to obtain the messages from the server.
Into the controller file of the main page (Tournament) we created the following Socket function
MySocket.on("chat message", function (data) {
  var pobj = parseJSON(data);
  var page = pobj.page;
  $state.go(page, { obj: data });
});
With $state we can change the page directly from a JSON received through a Socket message, with all the informations needed.
We created the Socket service using the socket.io-client library, which installs by using this command:
npm install -s socket.io-clientAn example of service instantiation is the following:
let MySocket = function (socketFactory) {
  var myIoSocket = io.connect('localhost:8080');

  var mySocket = socketFactory({
    ioSocket: myIoSocket
  });

  return mySocket;
}
export default MySocket;
So we finally created:
- A backend which manages the tournament bracket
- A frontend which shows all the phases of the match
- A program for message exchange using Socket
Below is showed a brief demonstration:
