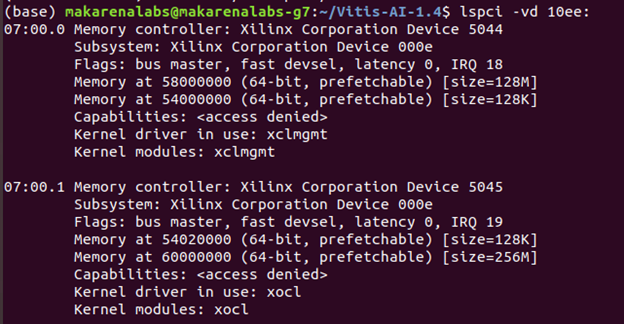
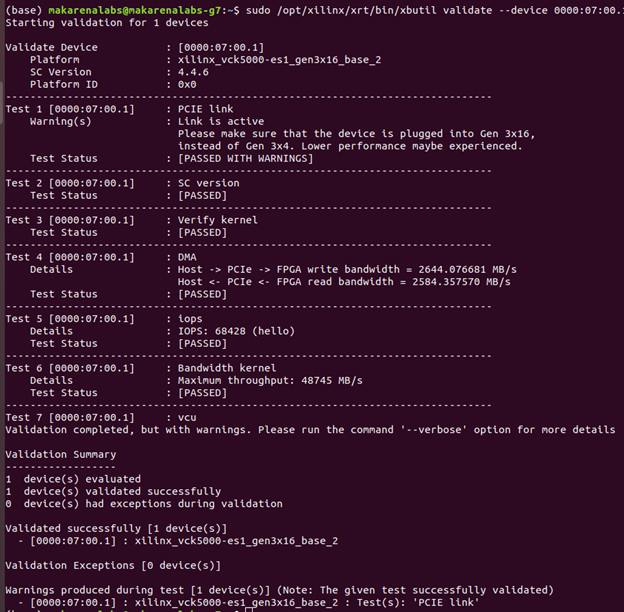
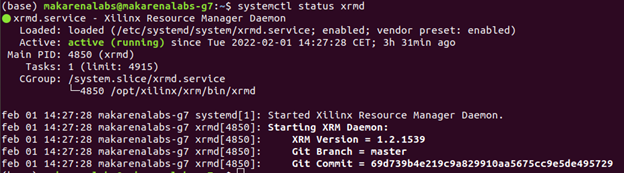
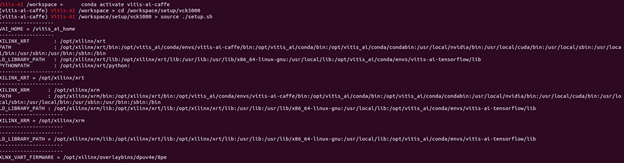
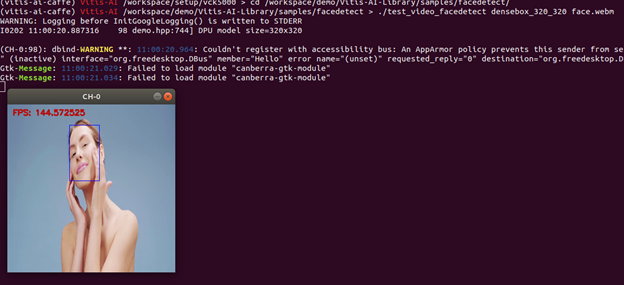
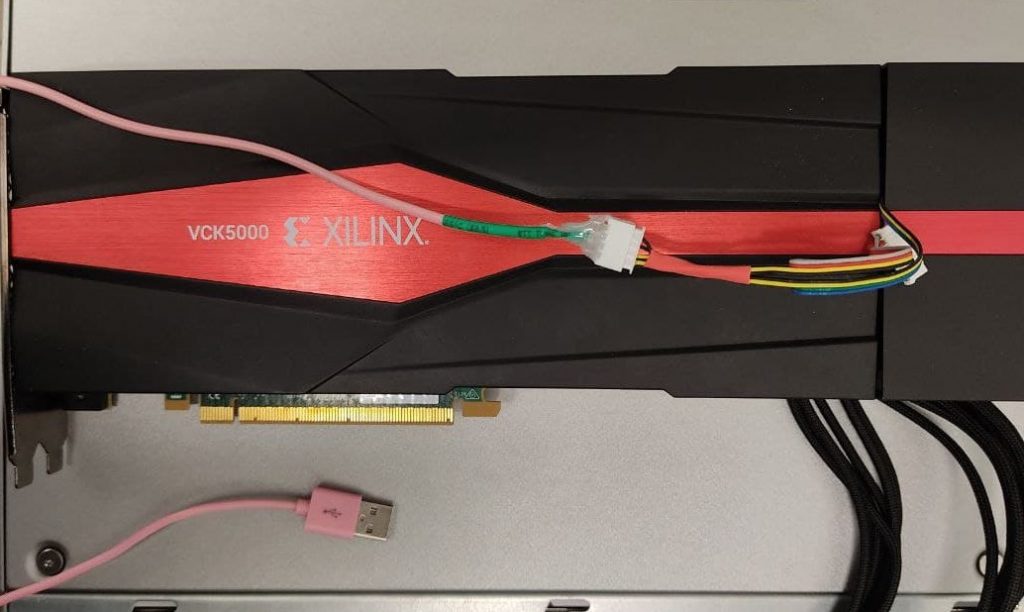
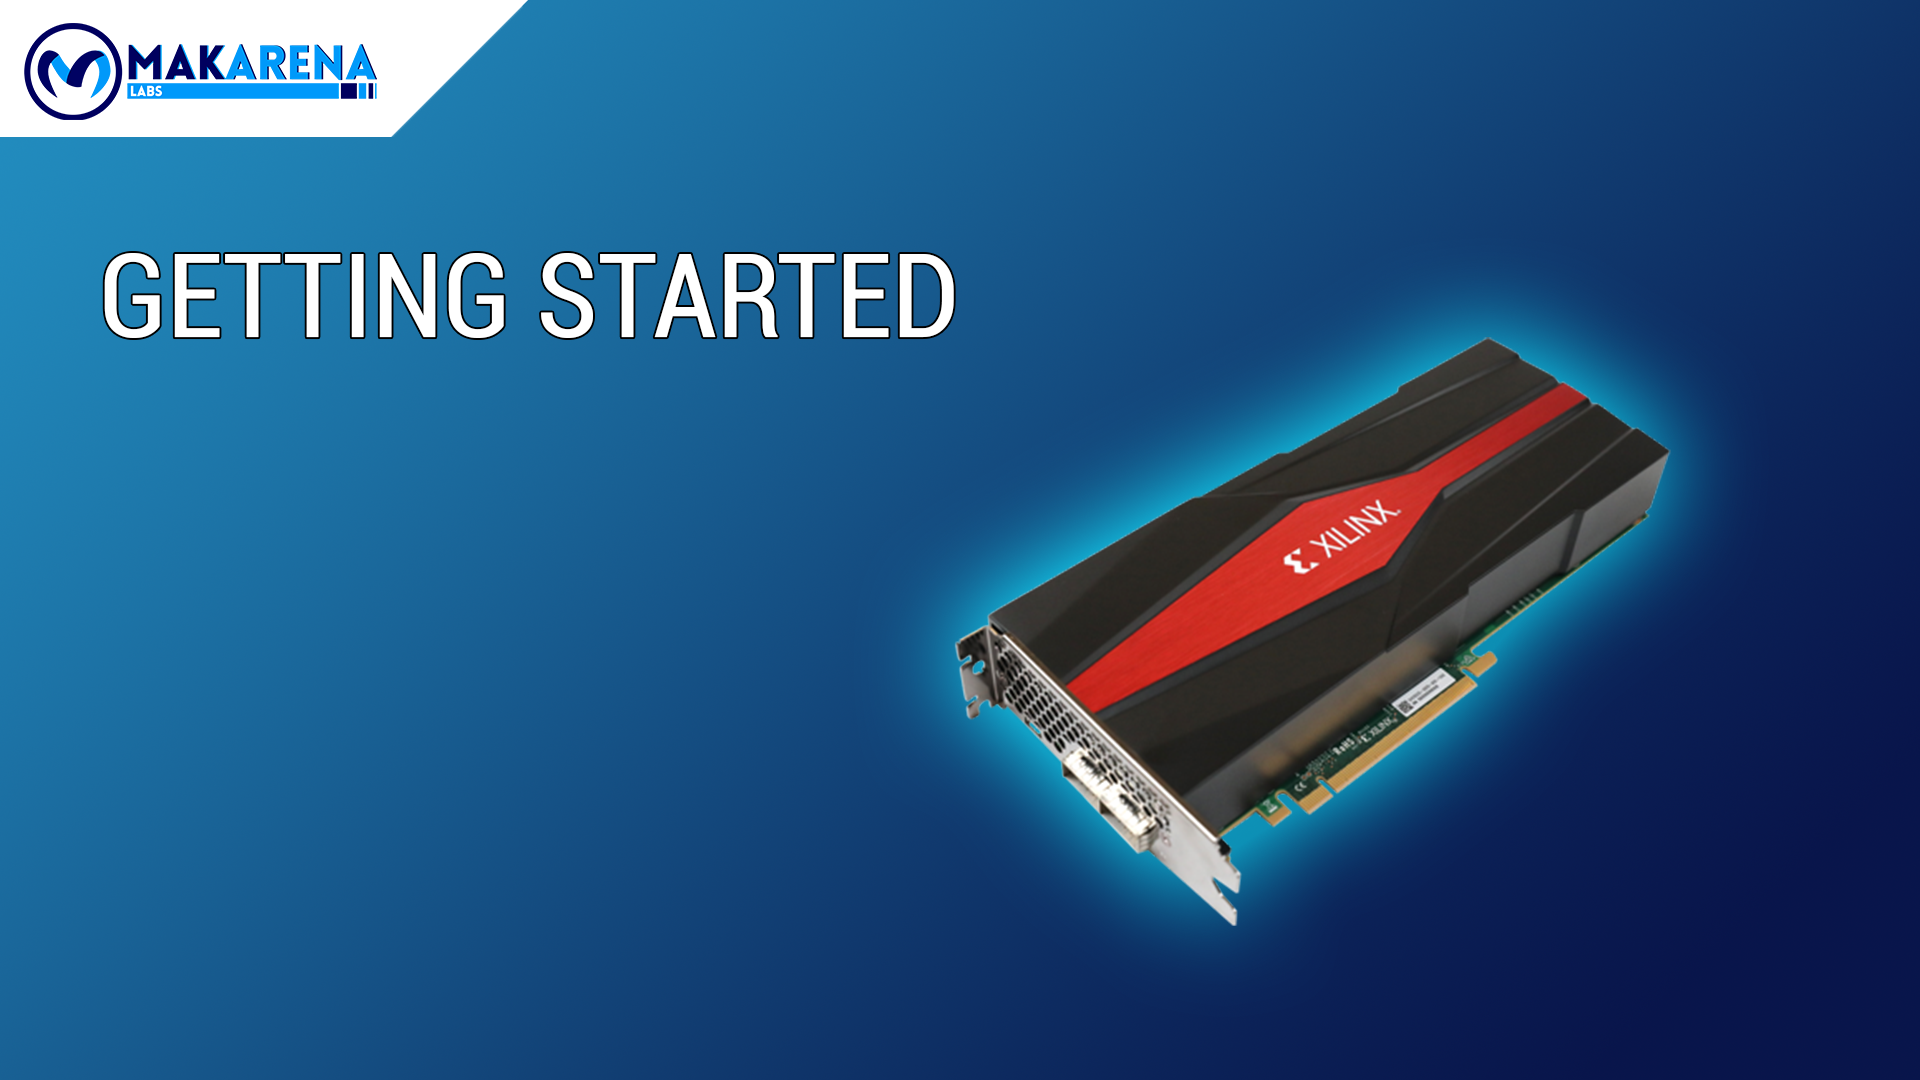
VCK5000 getting started: little tutorial, great acceleration

Introduction

Have you heard the news about the VCK5000 development card being on discount? We are here with a small tutorial on how to get started and use this board for your future projects.

Xilinx provides scripts which are really useful on installing the principal packages required. However, sometimes someone can run into errors that have no answer anywhere online. Therefore, the aim of this article is to help anyone having troubles setting up the VCK500. Moreover, as an extra, we have a special section on how to reduce the loud noise of this development card.

Setting up the host and VCK5000

The scripts aforementioned in the introduction section can be found on the Xilinx github page. It is recommended to not overwrite the packages but to remove and then reinstall them.

The following steps are done on an Ubuntu 18.04.6 LTS based system :

linux uname for ubuntu version

On your computer, after cloning the Vitis AI repository (version 1.4 for VCK5000 ES-1 or version 2.0 for VCK5000 PROD), you should run the installation file as follows:

cd setup/vck5000/
source ./install.sh

Run lspci to check that the VCK5000 Card has been installed

lspci -vd 10ee:
lspci command for vck5000

Download and install all the deployment packages in the following order if the development card is a VCK5000 ES-1, otherwise, skip this step.

Download link: https://www.xilinx.com/member/forms/download/eula-xef.html?filename=xilinx-vck5000-es1-gen3x16-2-202020-1-dev_1-3123623_all.deb

sudo apt install ./xilinx-sc-fw-vck5000_4.4.6-2.e1f5e26_all.deb
sudo apt install ./xilinx-vck5000-es1-gen3x16-validate_2-3123623_all.deb
sudo apt install ./xilinx-vck5000-es1-gen3x16-base_2-3123623_all.deb

Then, reboot the computer and verify that the card has been successfully programmed:

sudo /opt/xilinx/xrt/bin/xbmgmt flash --scan
xbmgmt command for VCK5000

 Verify and validate the VCK5000 card:

 sudo /opt/xilinx/xrt/bin/xbutil validate --device 0000:07:00.1

You can find the “0000:07:00.1” value of the device parameter from the previous lspci command (look at the first value of the row).

xbutil validate for VCK5000

The card has been set up correctly, Vitis AI docker has to be run as the next step. Make sure that the XRMD service is running correctly:

systemctl status xrmd
conda activate vitis-ai-caffe  # or any other framework
cd /workspace/setup/vck5000

# for VCK5000 ES-1
source ./setup.sh 

# For the VCK5000 PROD card, you can select 8PE 350MHz  DPU IP via the following command.
source ./setup.sh DPUCVDX8H

# For the VCK5000 PROD card, you can also select 6PE-DWC 350MHz  DPU IP via the following command.
source./setup.sh DPUCVDX8H-DWC

conda activate for VCK5000

Now you can run all the demos provided by the Xilinx team on your VCK5000 development card.

Fan noise reduction on VCK5000

Due to the fact that VCK5000 fans are very noisy (and it is very annoying working in the same room as the device), we have found a little “hack” in order to manage better the fans.

According to the community (updates until 14/02/2022), you cannot manage directly the fans’ speed, so we decide to manage it externally with a simple circuit.

According to the VCK5000 documentation, the fans pinout can be detached from the mainboard, obtaining a colored cable (white, red, yellow, black, yellow, black,  green, and blue). The yellow-black are respectively the positive and negative poles of the fans, and they are powered with 12 Volts from the mainboard.

So, in order to reduce the fan speed, why don’t you power them with 5 Volt from a USB?

Below there is the result:

This is not the most elegant solution, but now you can appreciate the silence!